
This article explains how to create and manage routes within the Trackster application.
Introduction
You will learn the step-by-step process to define, edit, and submit routes effectively.

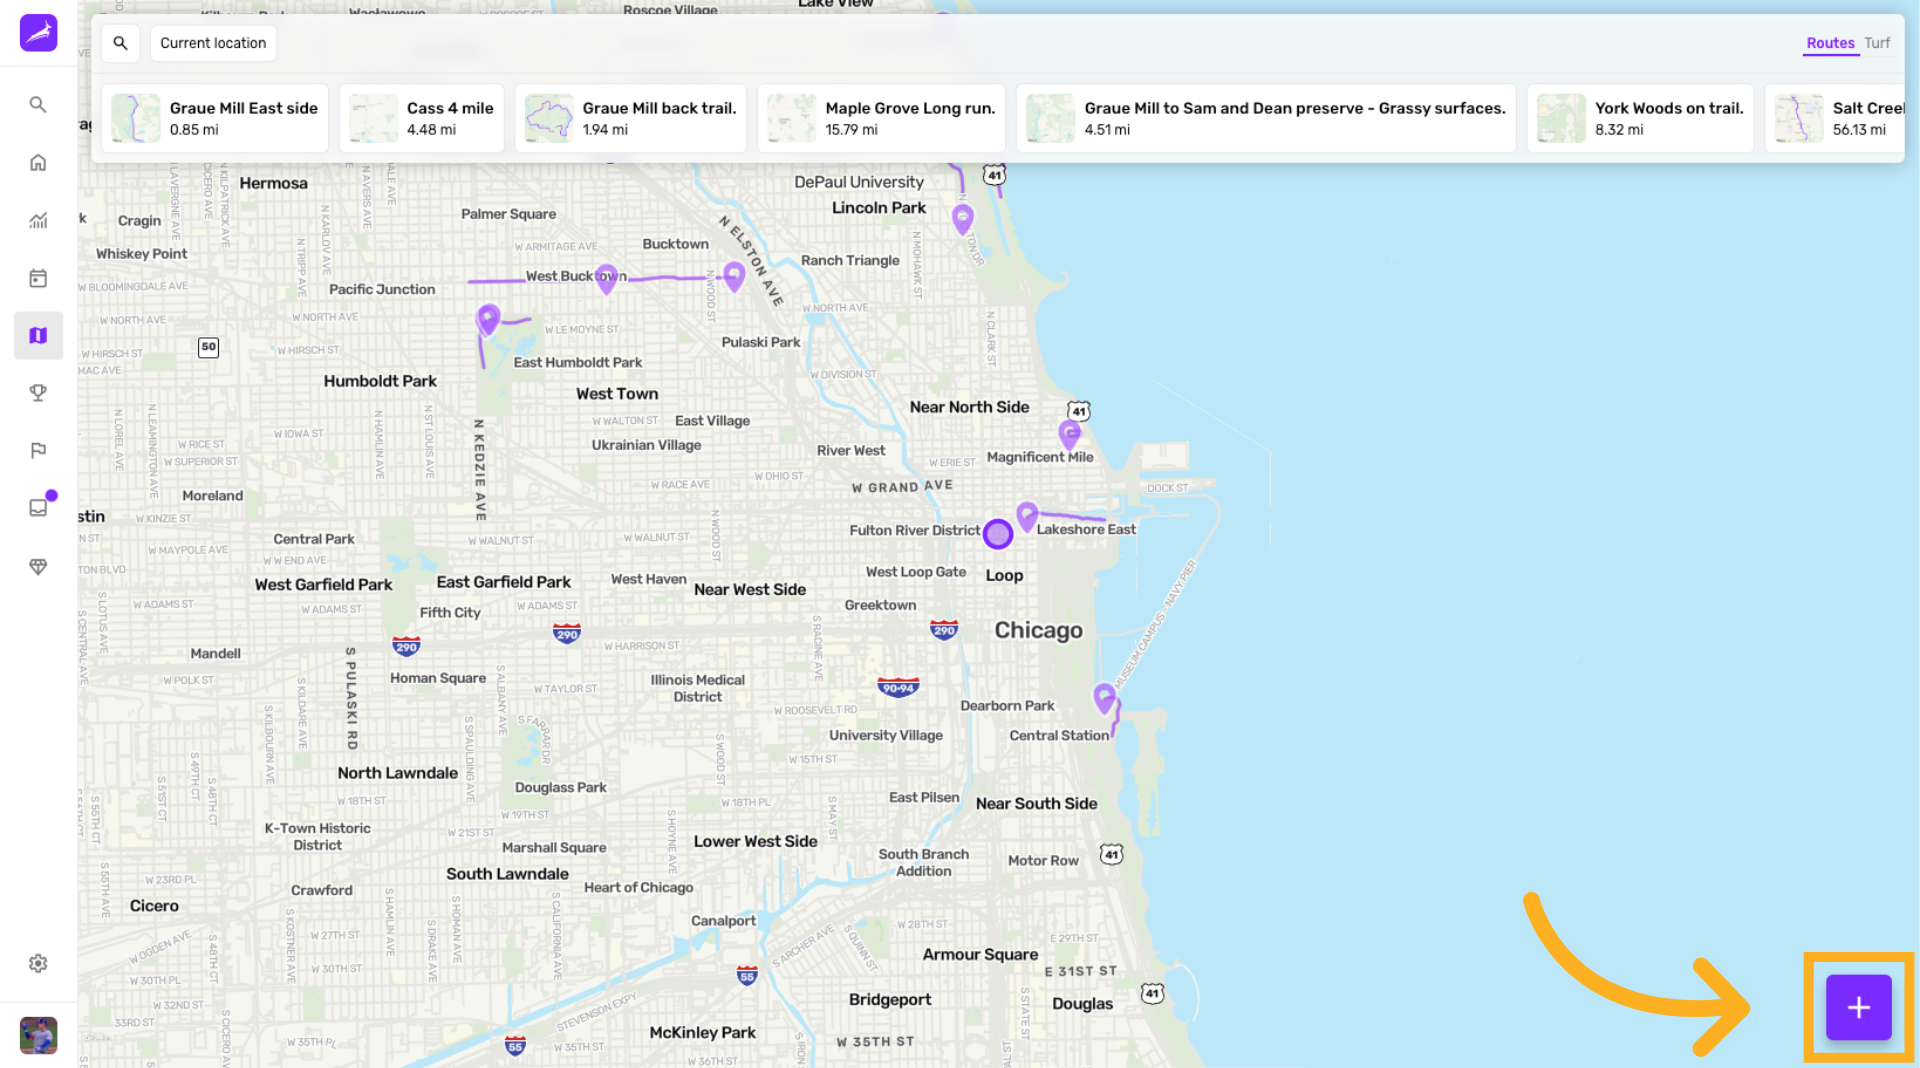
Navigate to Map Section
Click the map section on the home page to begin creating a new route.

Open Routes and Turf Zones
Access the view that displays routes and turf zones nearby to manage existing routes or create new ones.
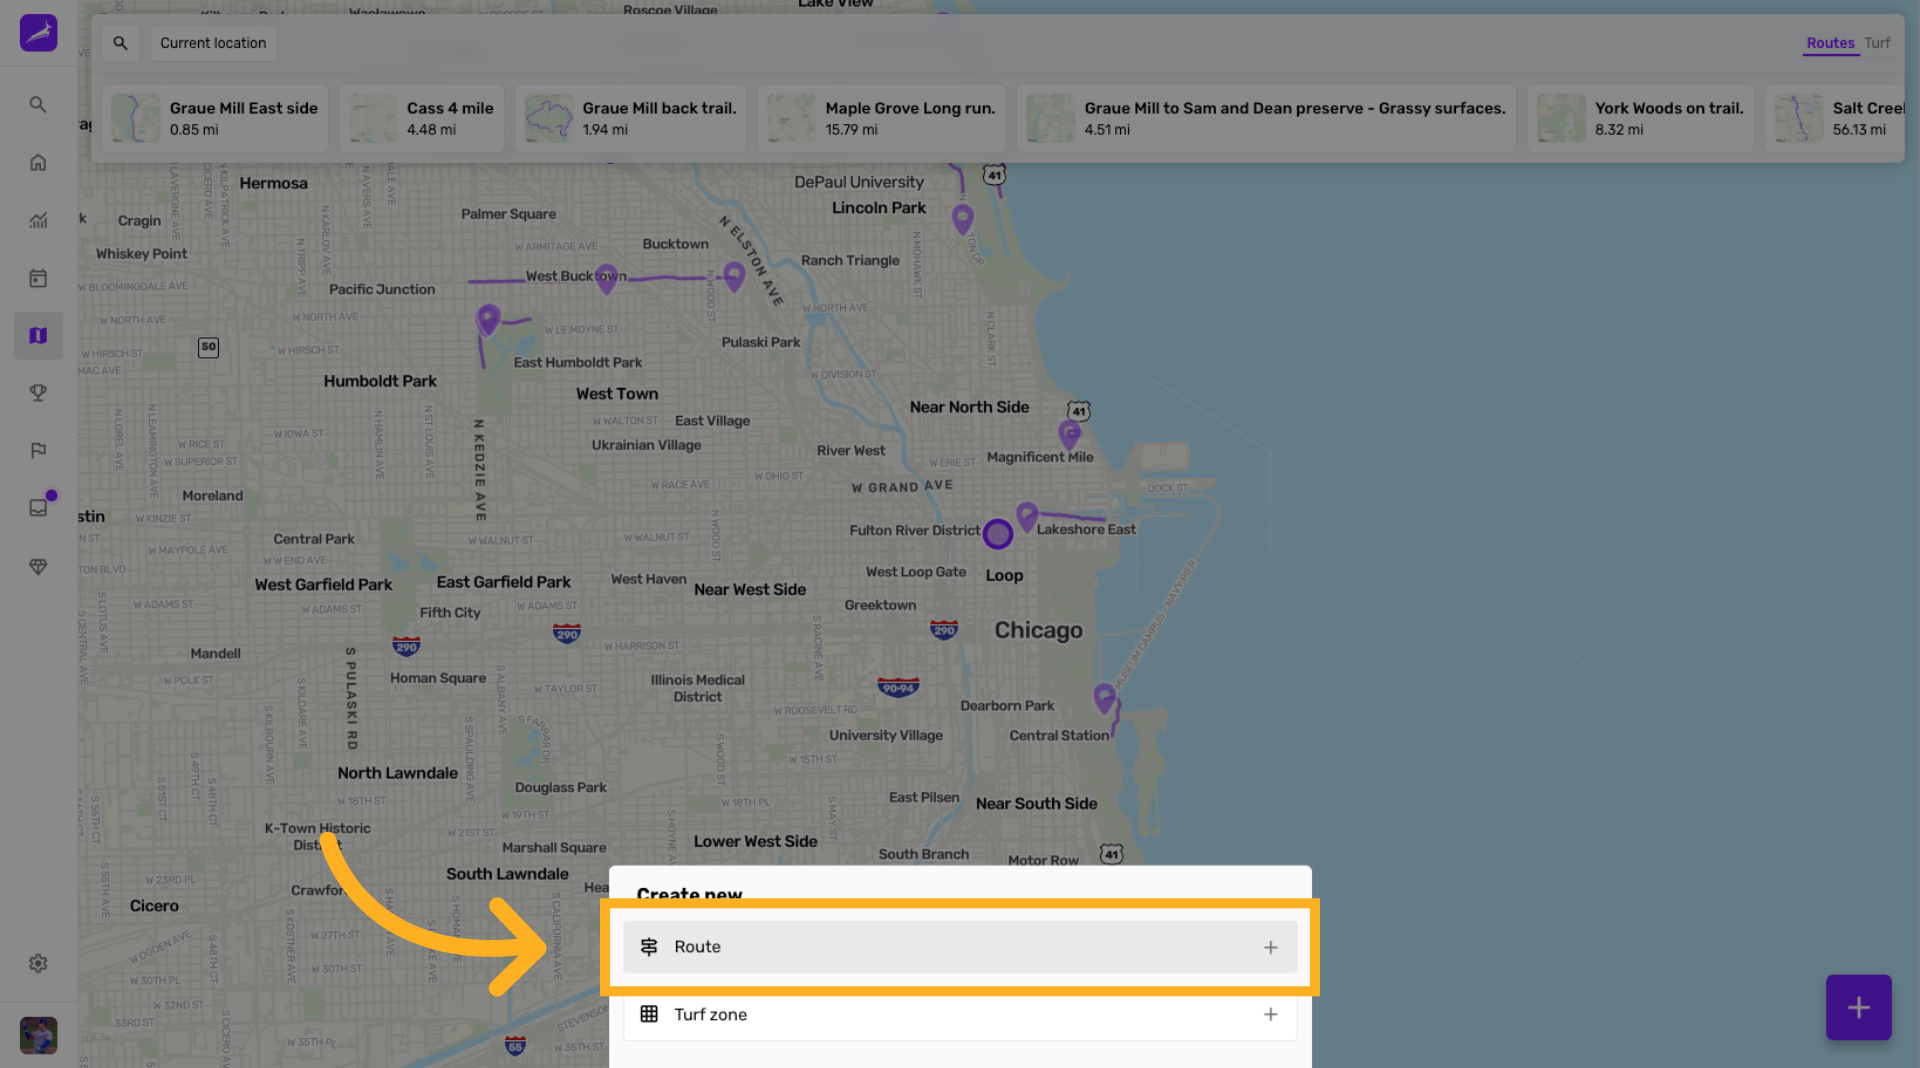
Create new Route
Click the Route option to start defining a new route within the selected area.
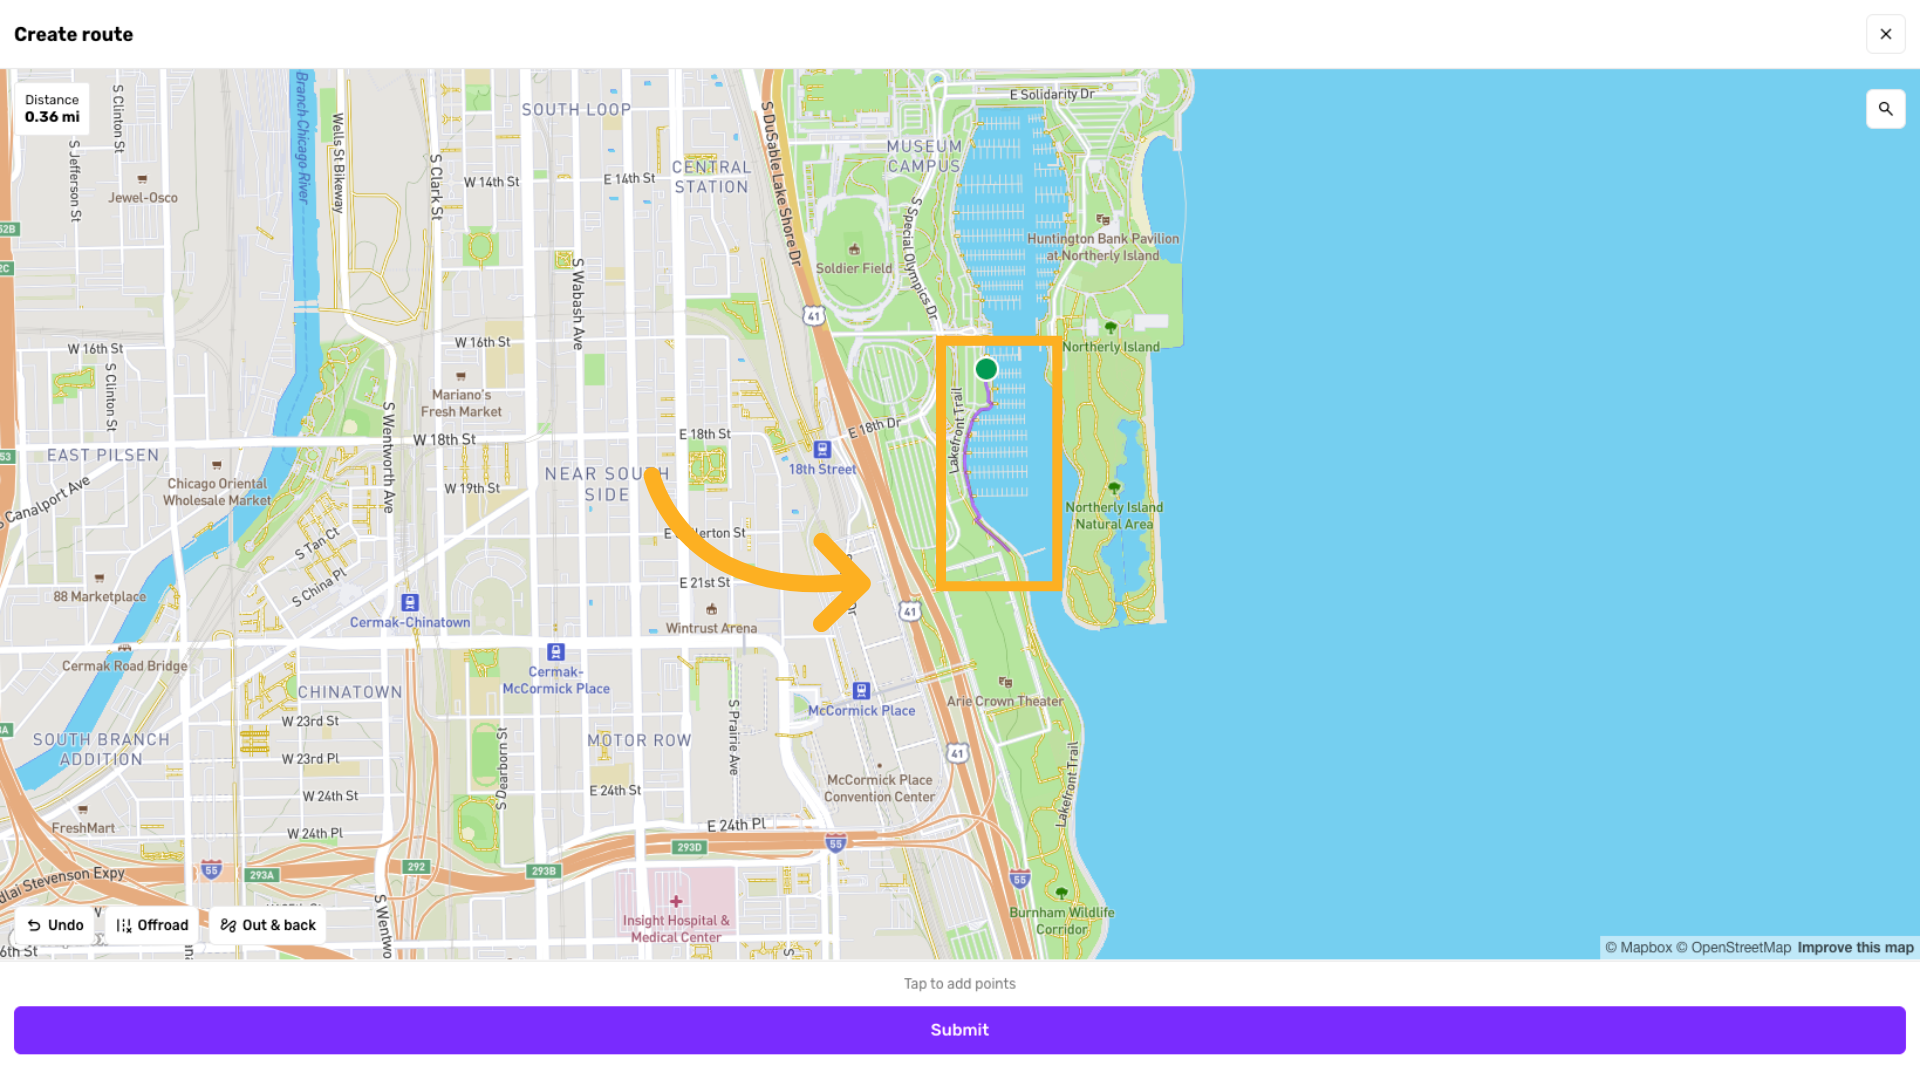
Refine Route Path
Click to adjust the route path by adding or modifying points for accuracy.
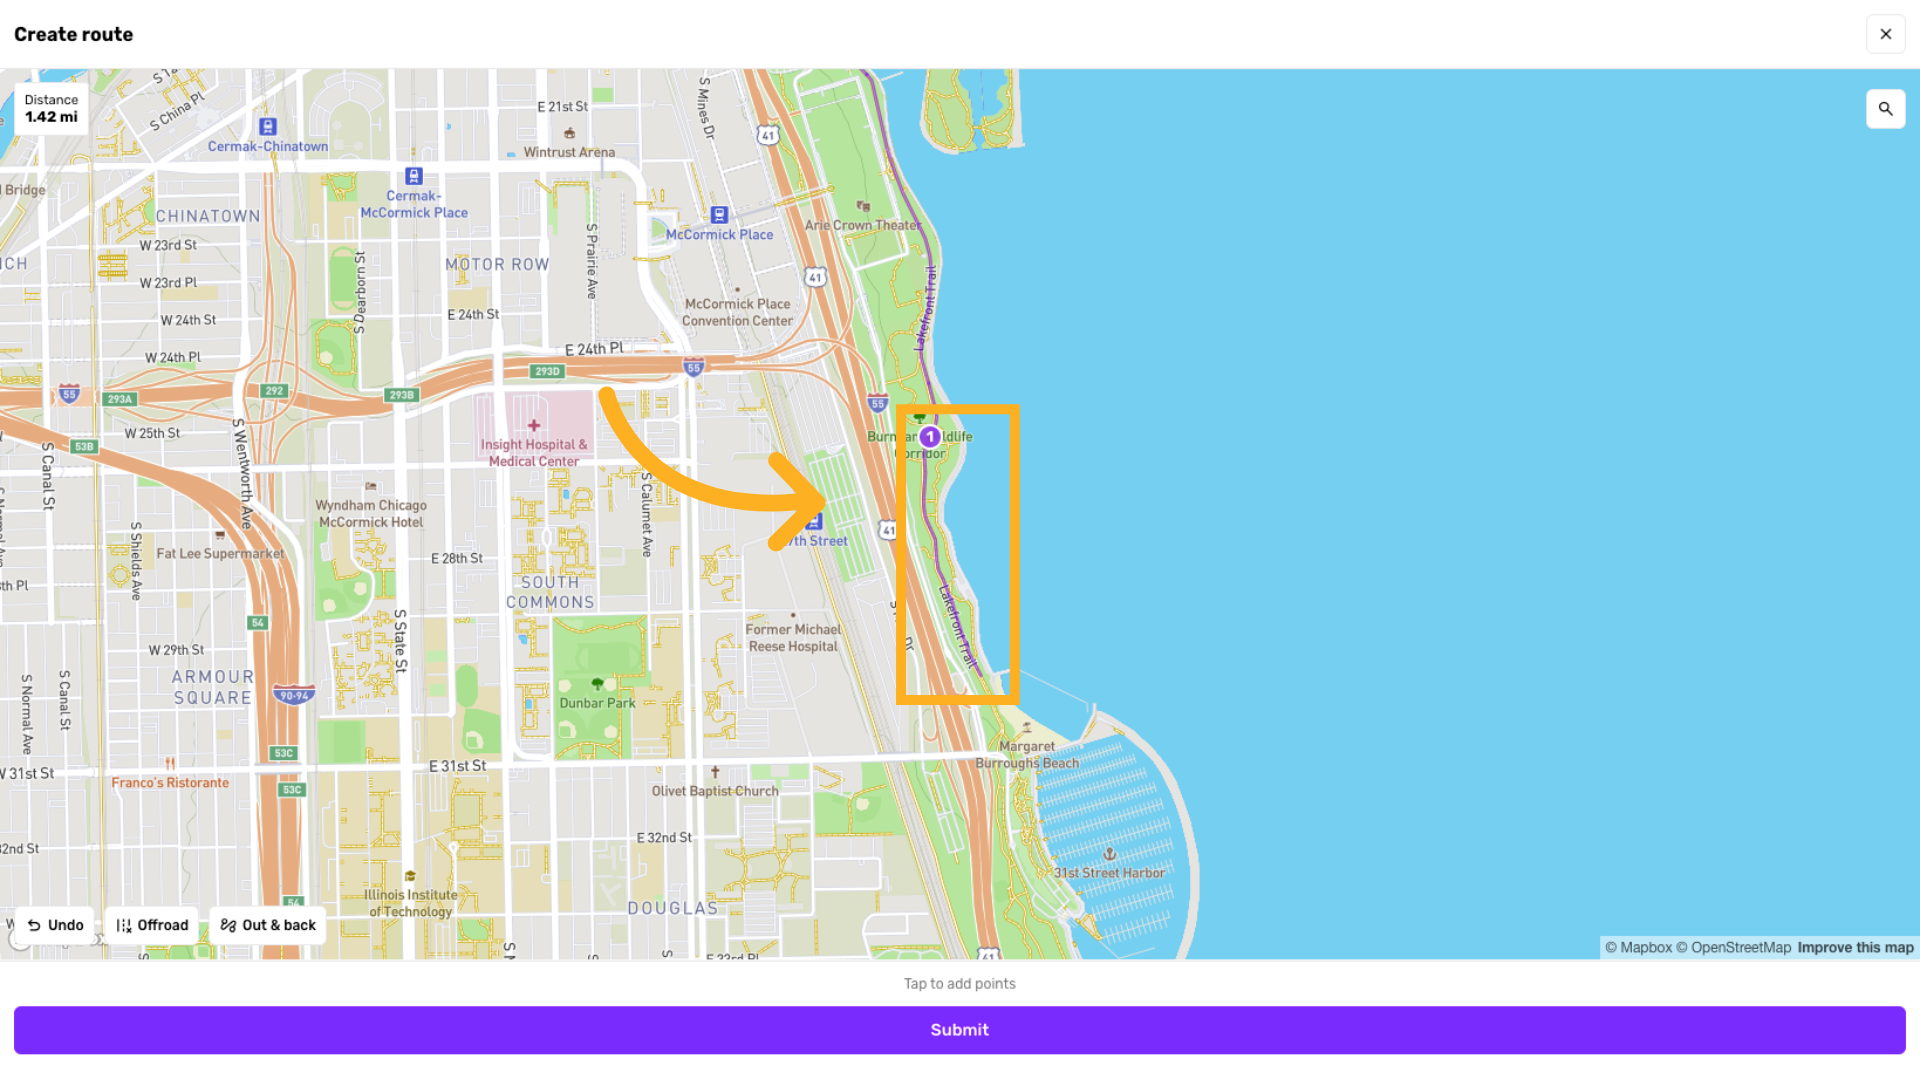
Prepare Route for Submission
Click to finalize the route setup and get ready to submit it.
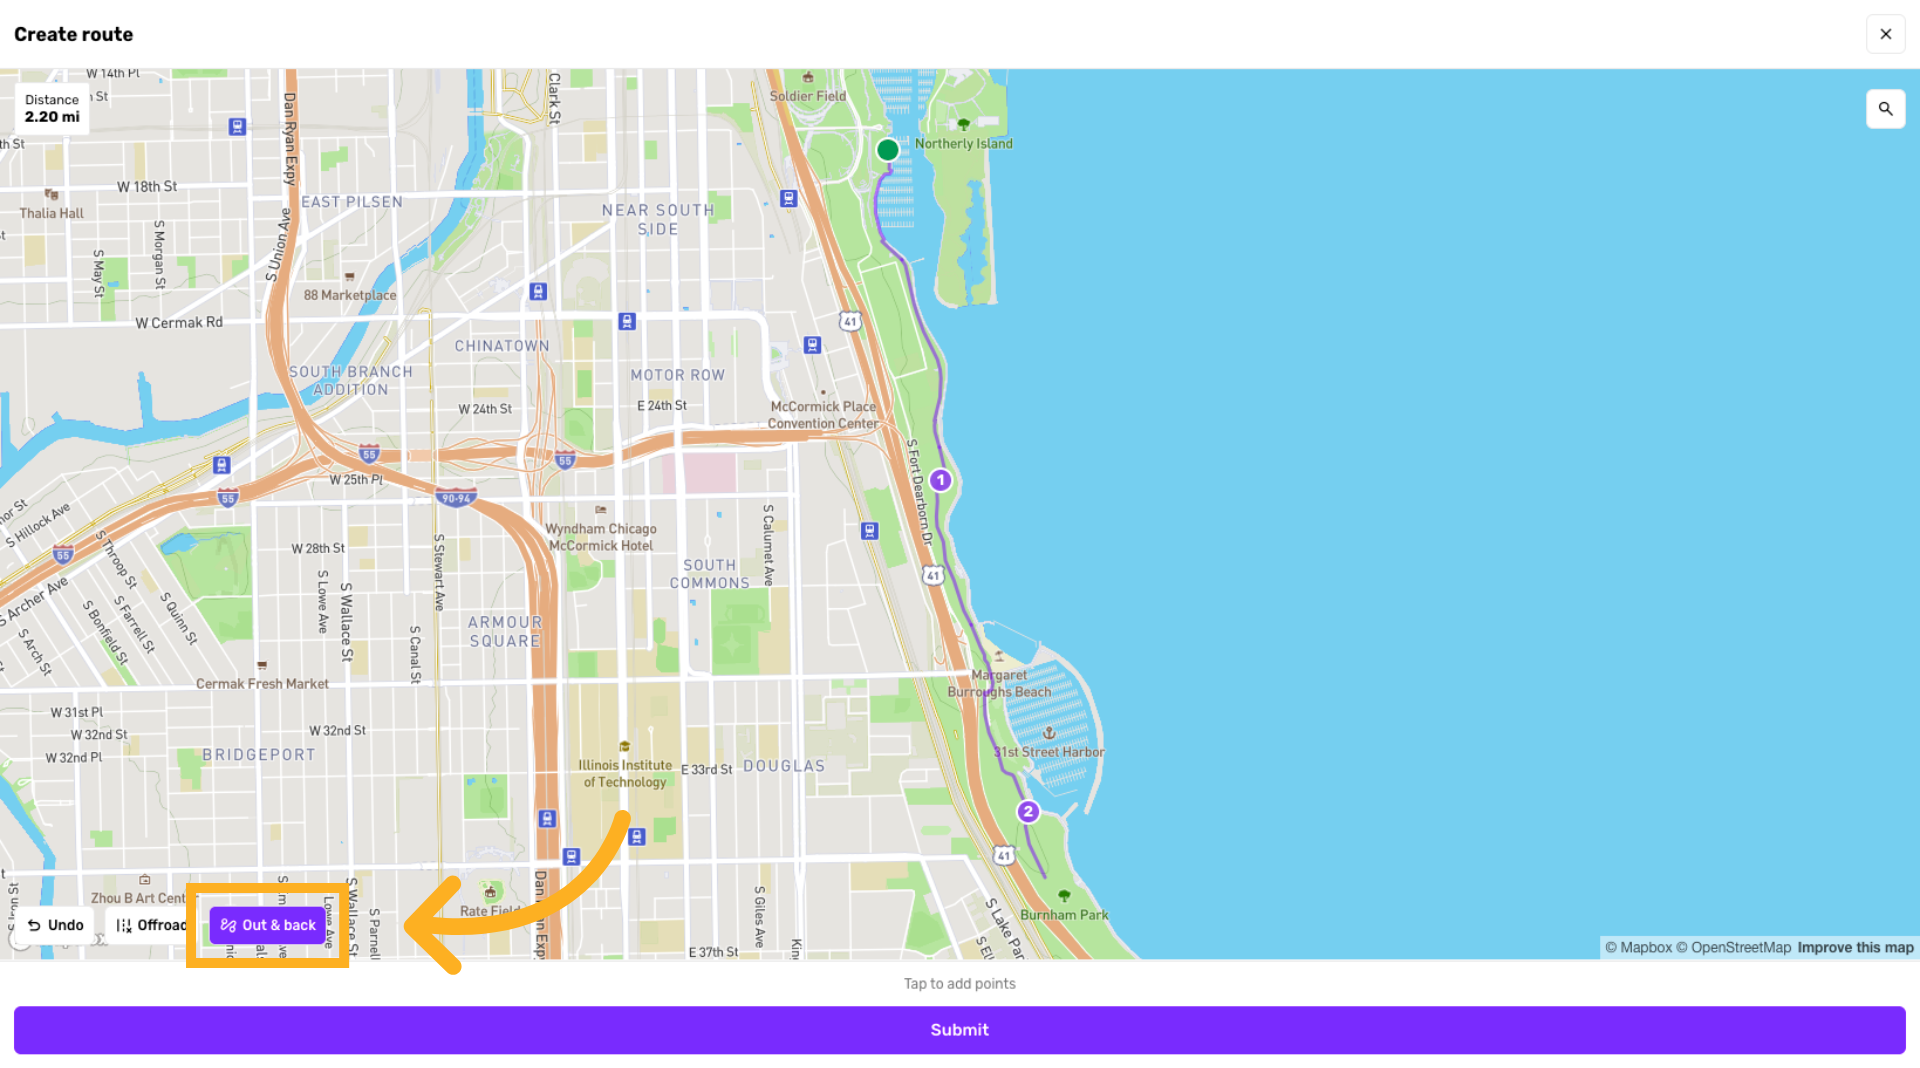
Select extra options
Click the Out & back, undo or off road buttons to make your Route even better
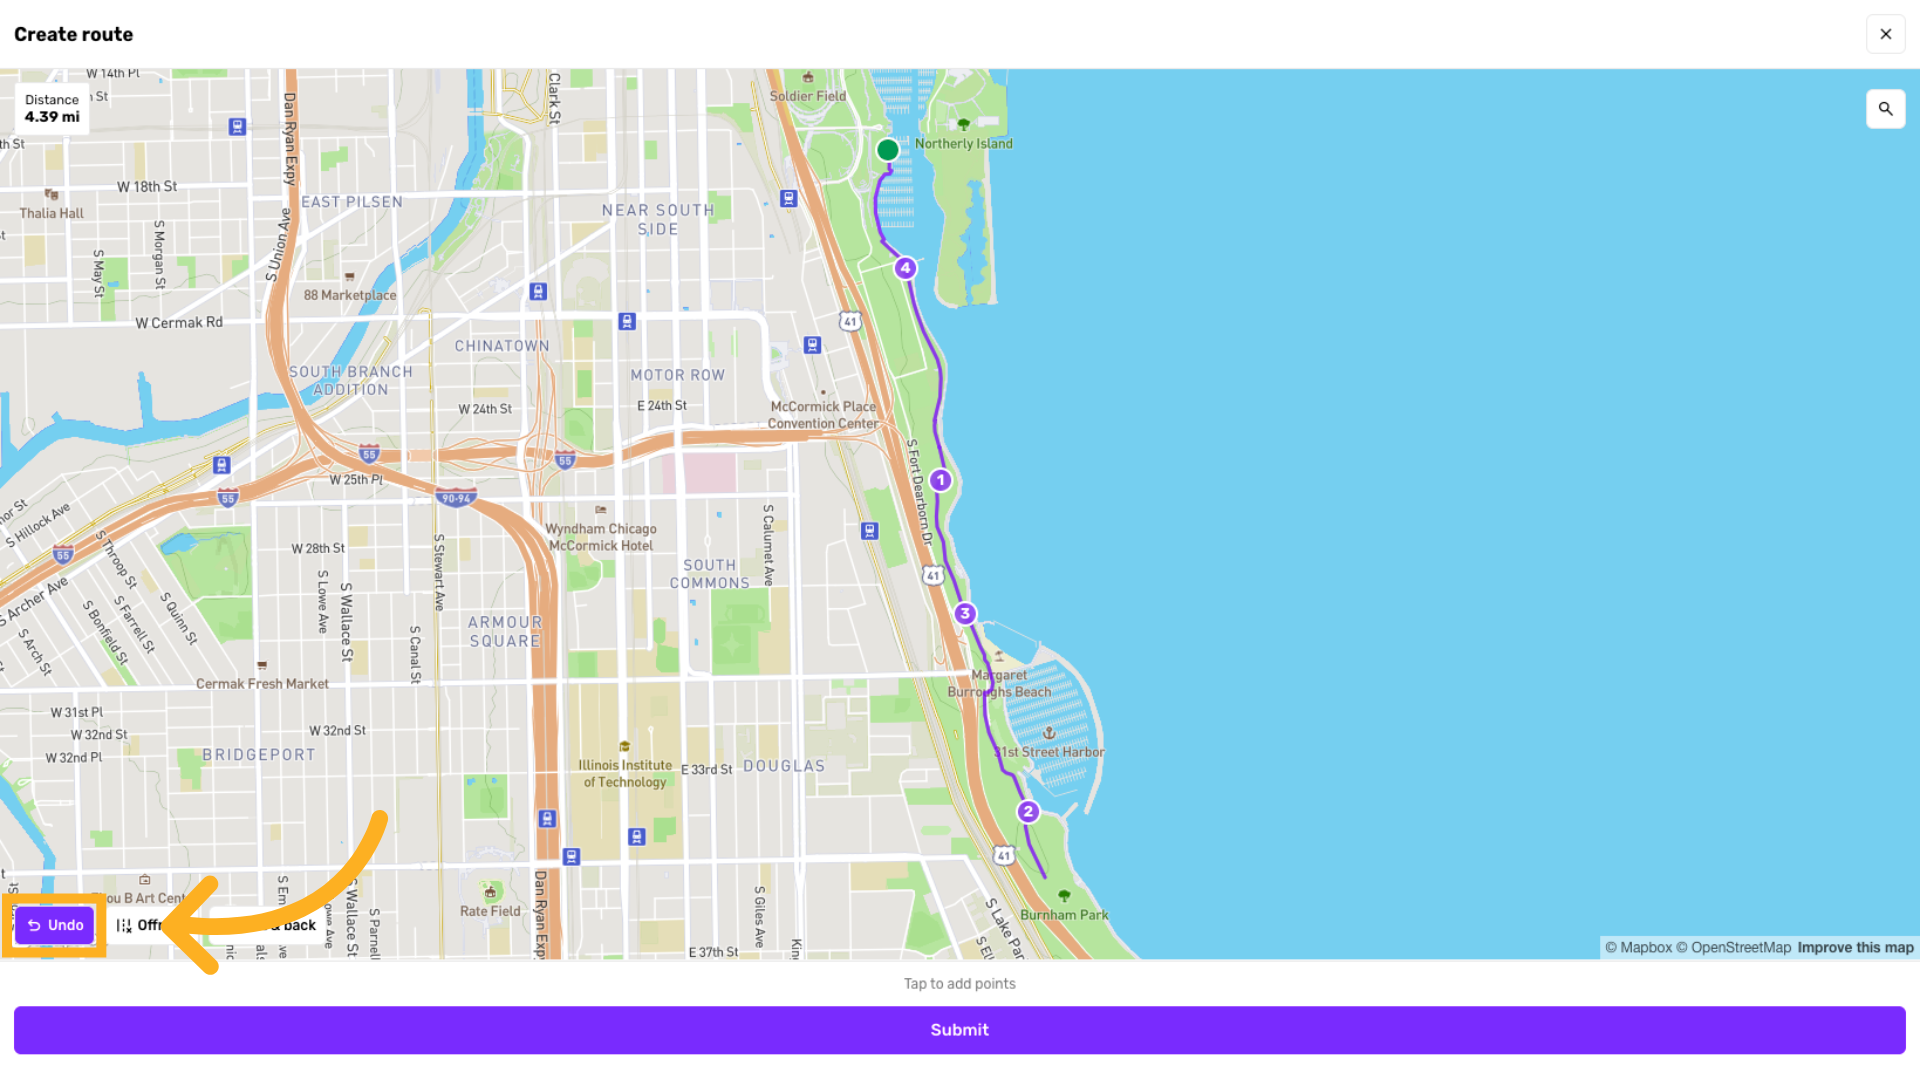
Undo Last Action
Click the Undo button to revert the most recent change made to the route.
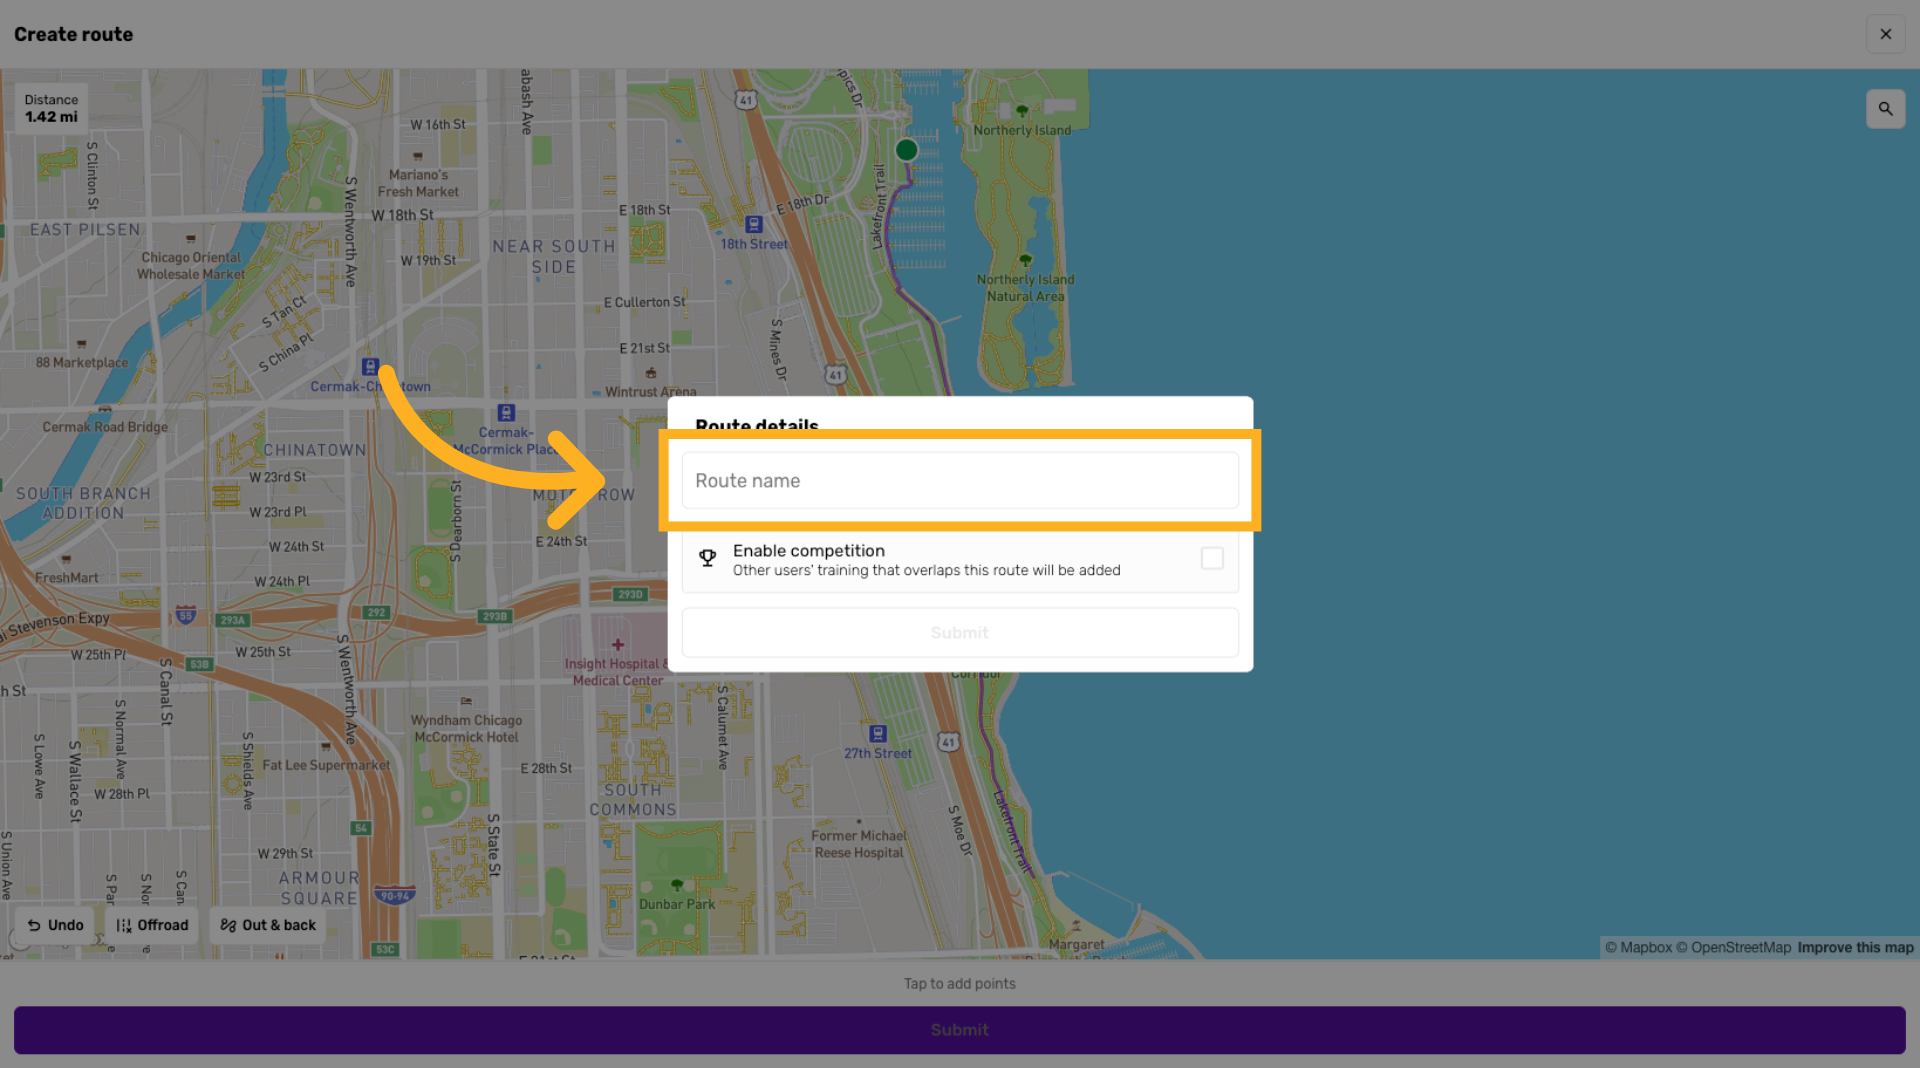
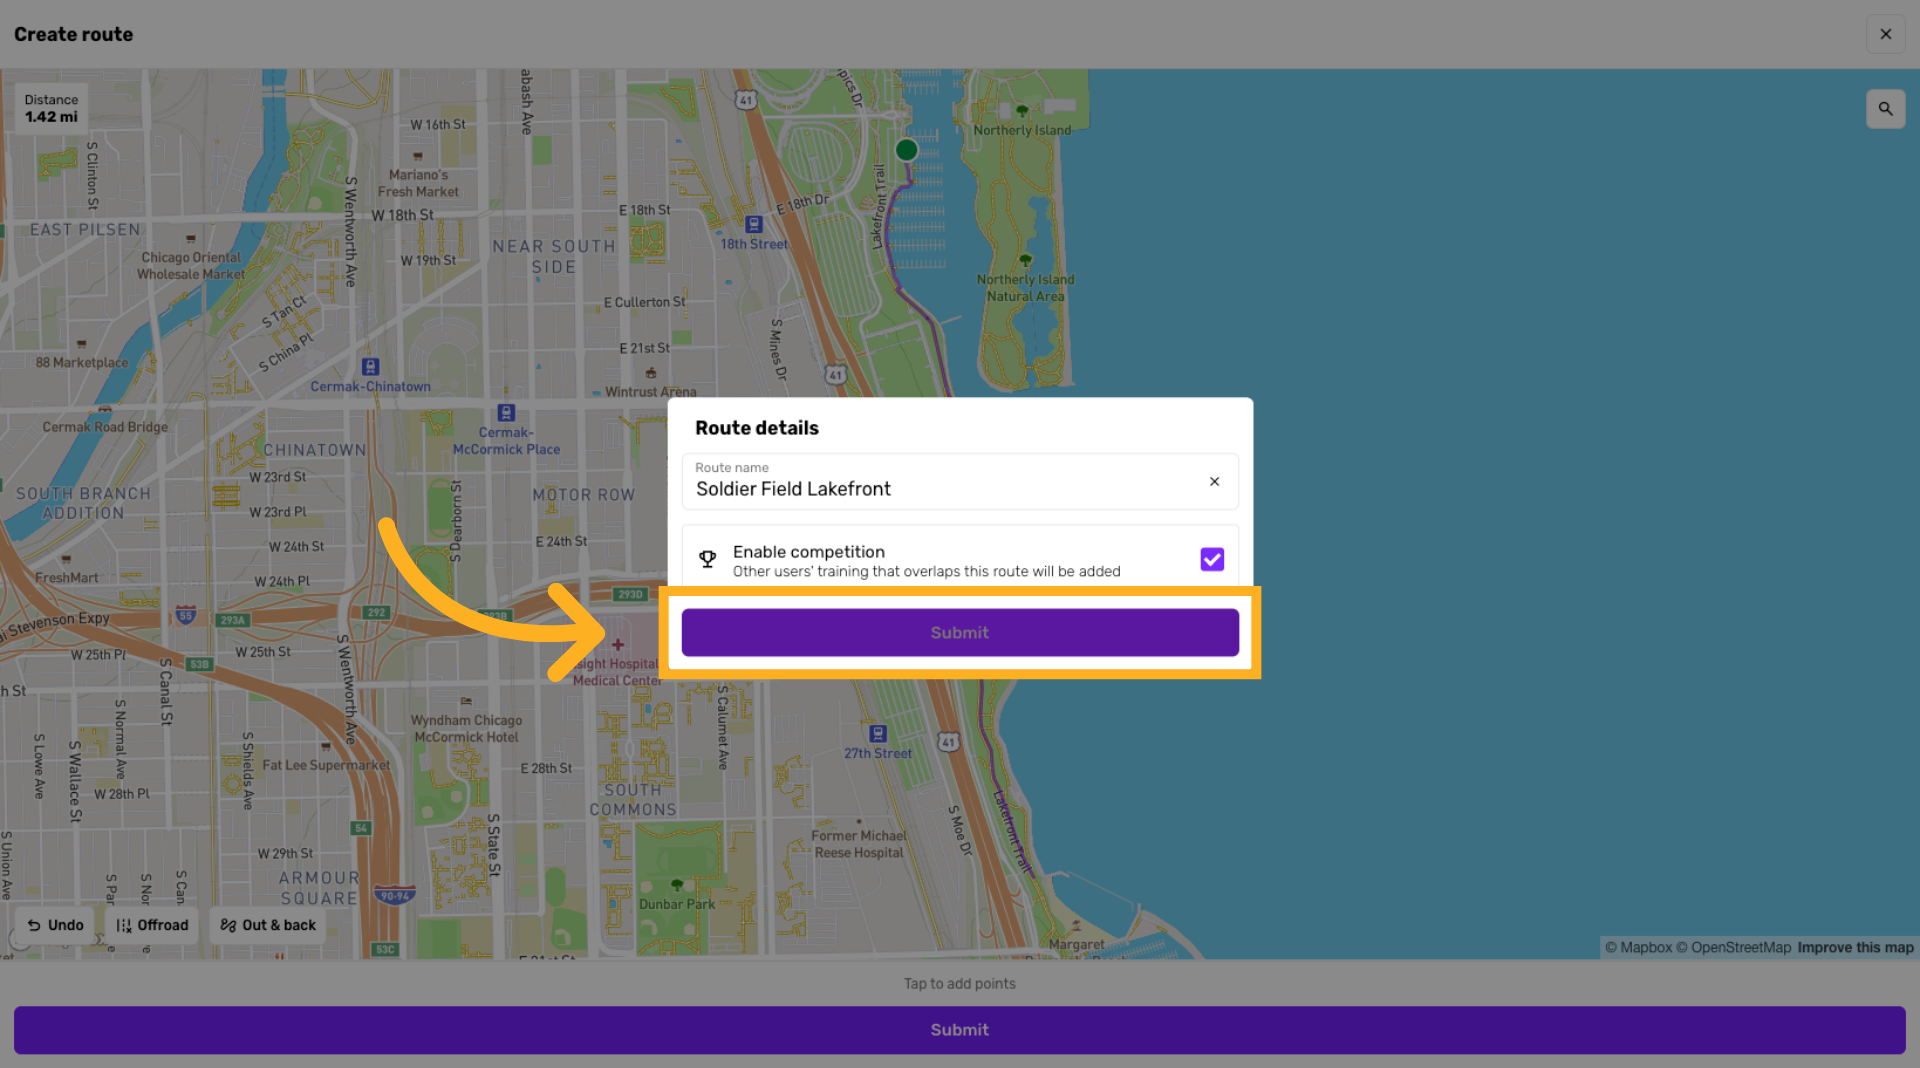
Give your route a name
Enter a concise, unique name for the new route
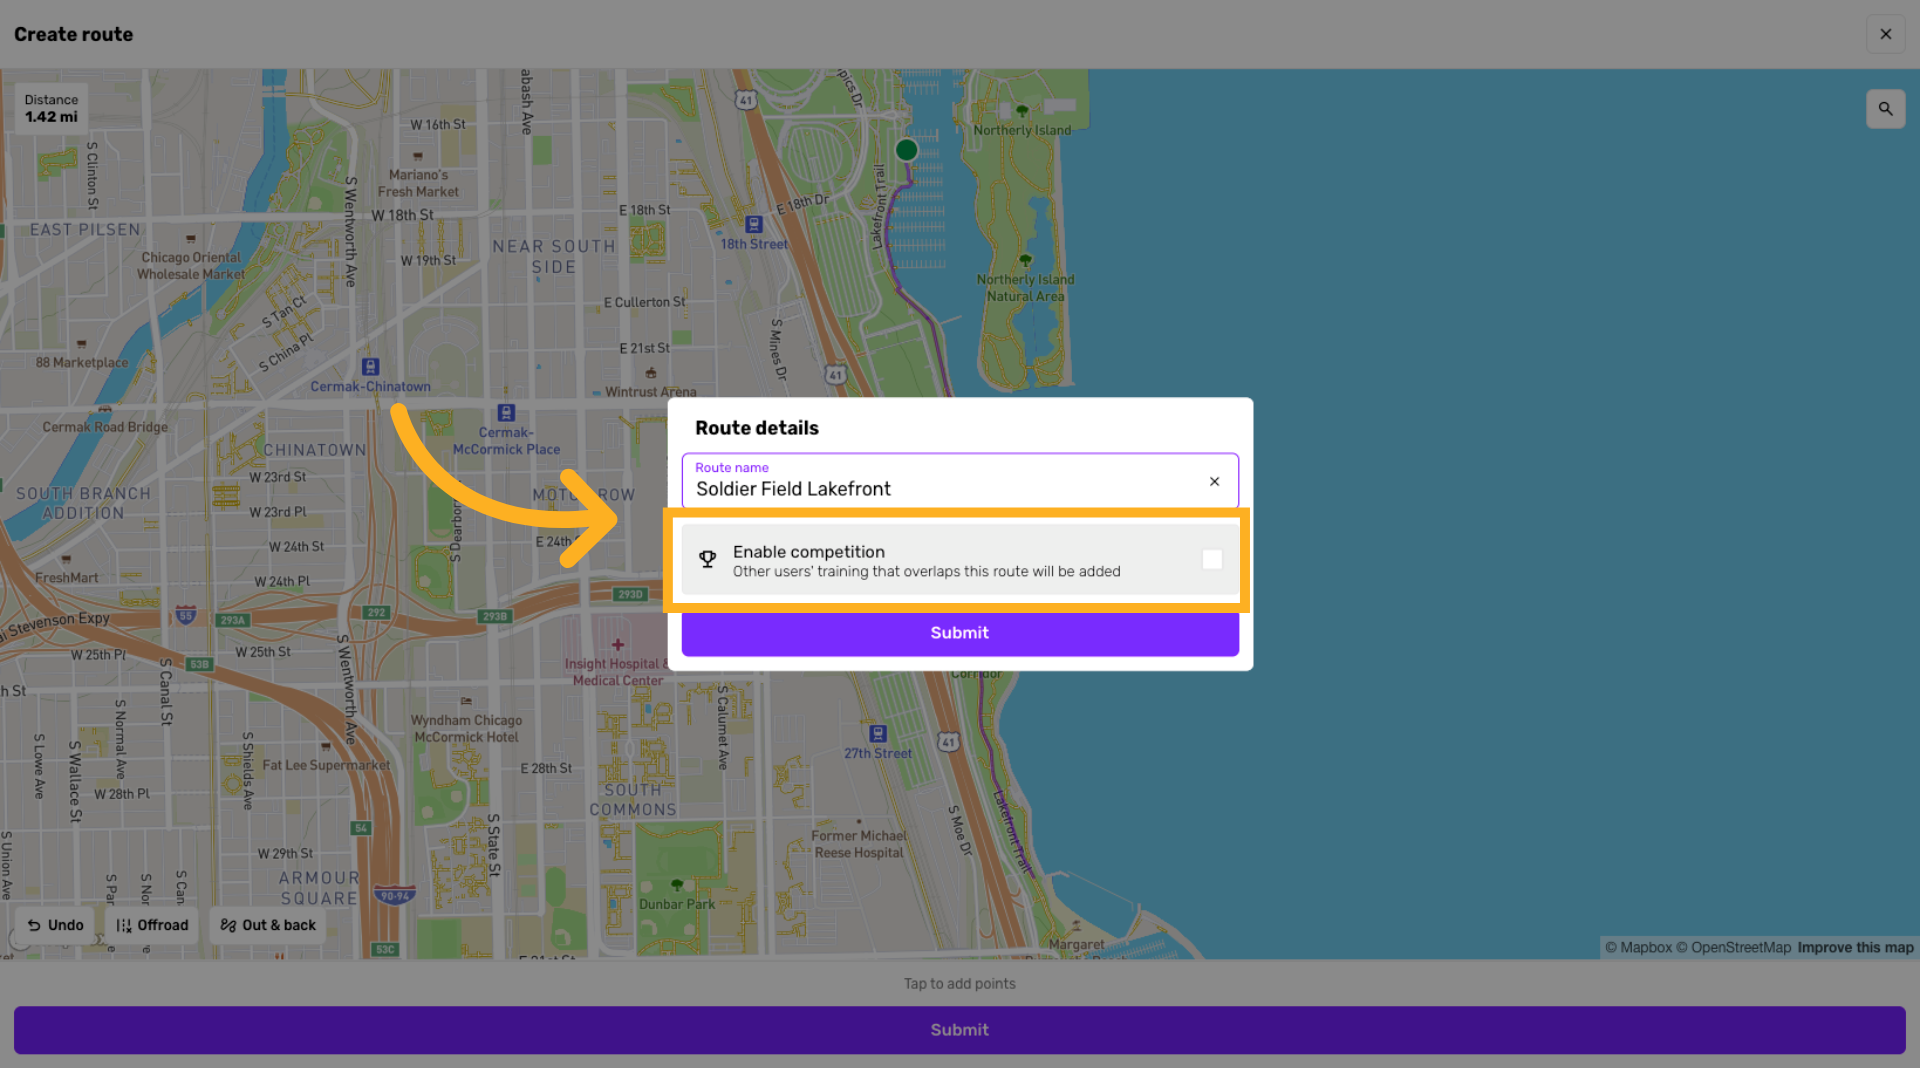
Enable Competition
Click to allow other users' training that overlaps this route to be added and saved over time
Submit Route
Click the Submit button to finalize the route with the selected settings.
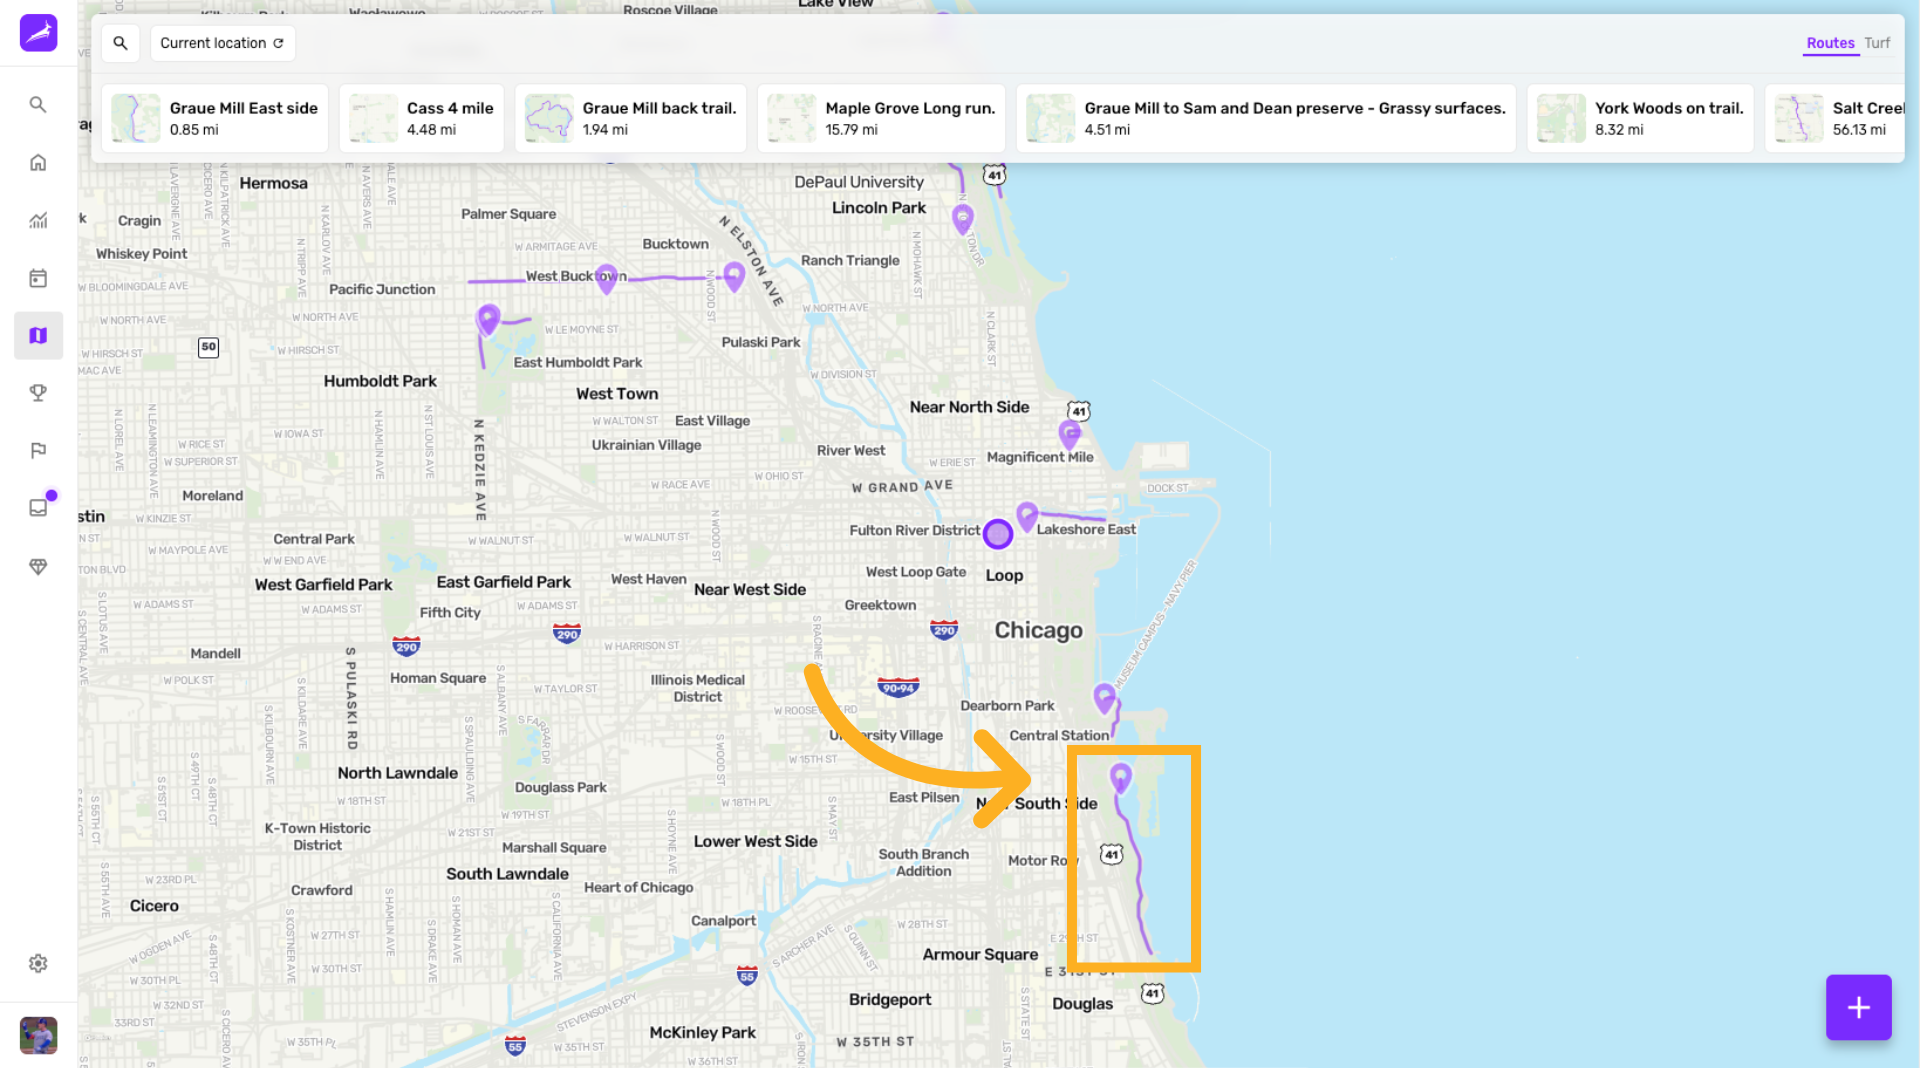
View your new route
Check out your new route on the map
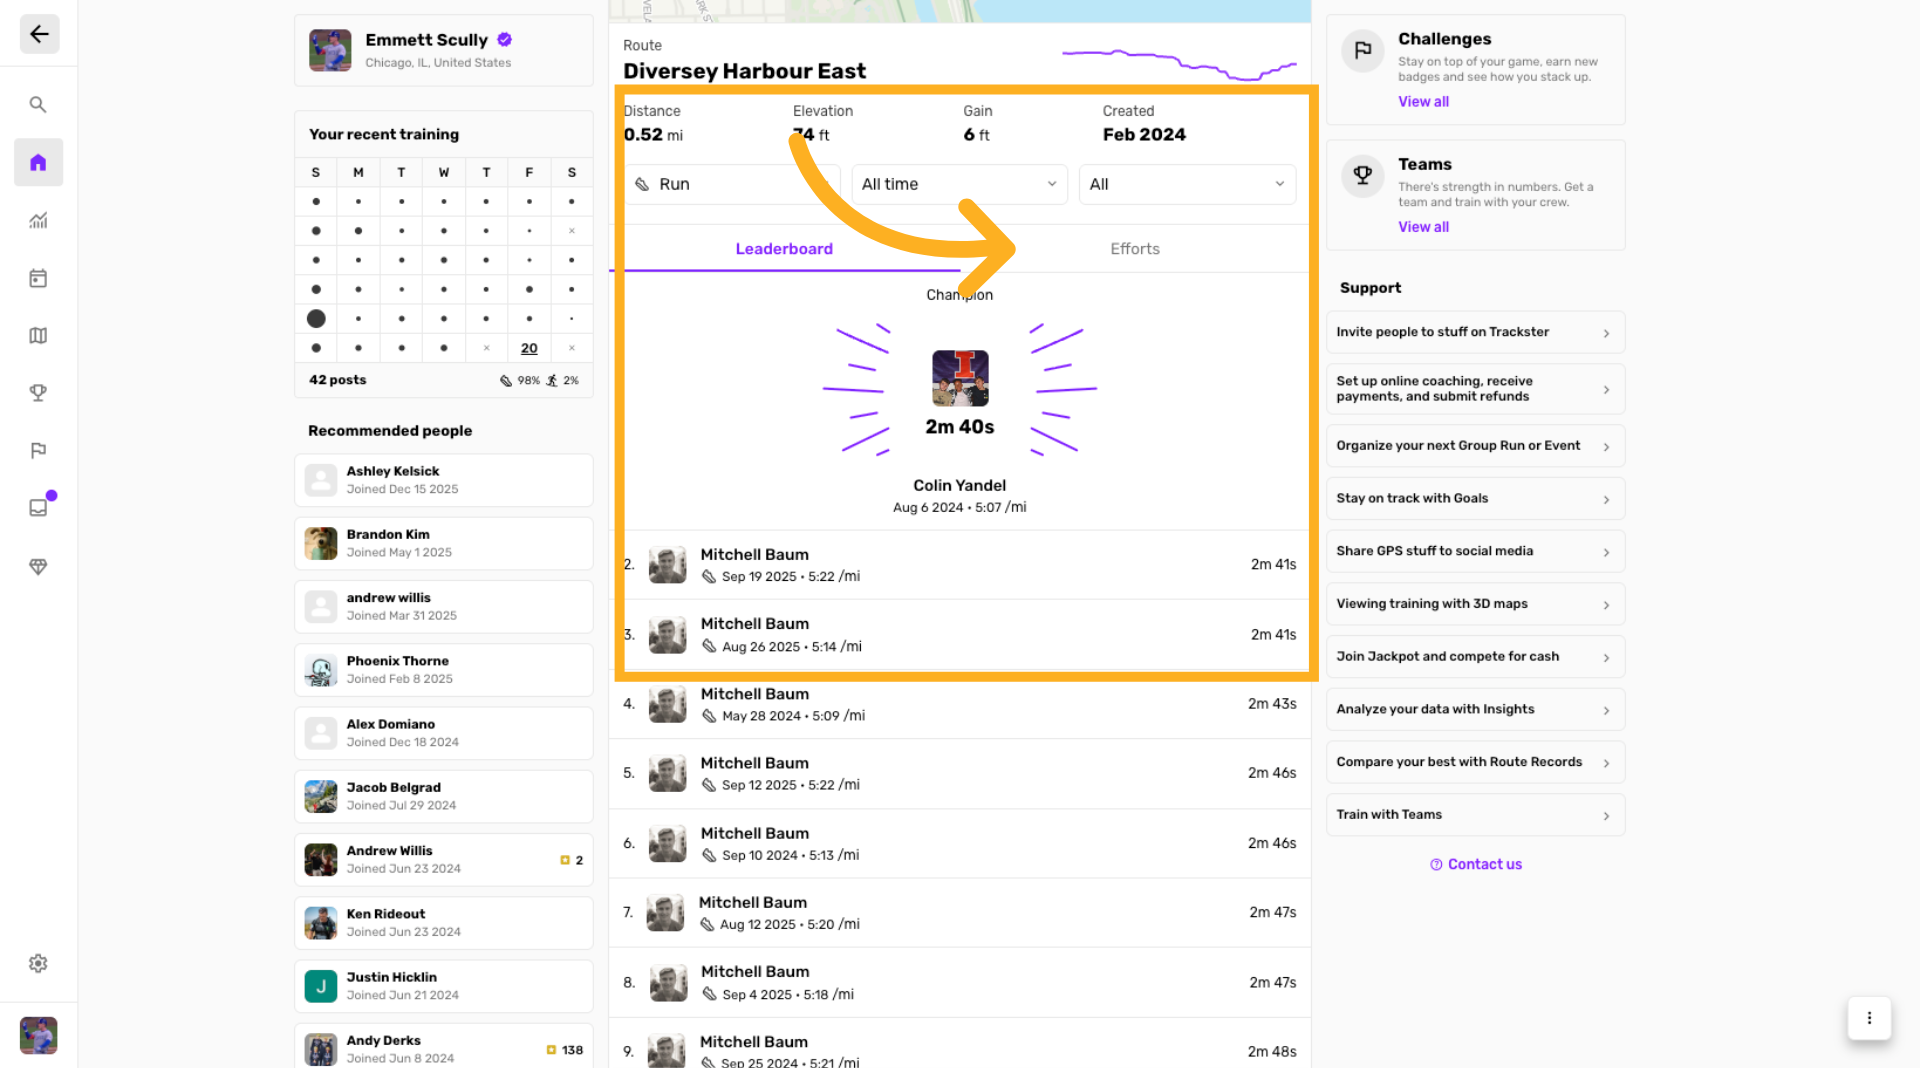
View Route Efforts
As people post training that overlaps this route, efforts will appear with the route
You have successfully created and managed a route within the Trackster application by following the step-by-step process. For more information, explore related articles on route customization and performance tracking.